

I wanted to improve my ability to code with an arduino but I needed something that would motivate me. Something that would be instant fun! I found the Stomp Shield kit from Open Music Labs and it was perfect (plus they were running a sale for only $19!)
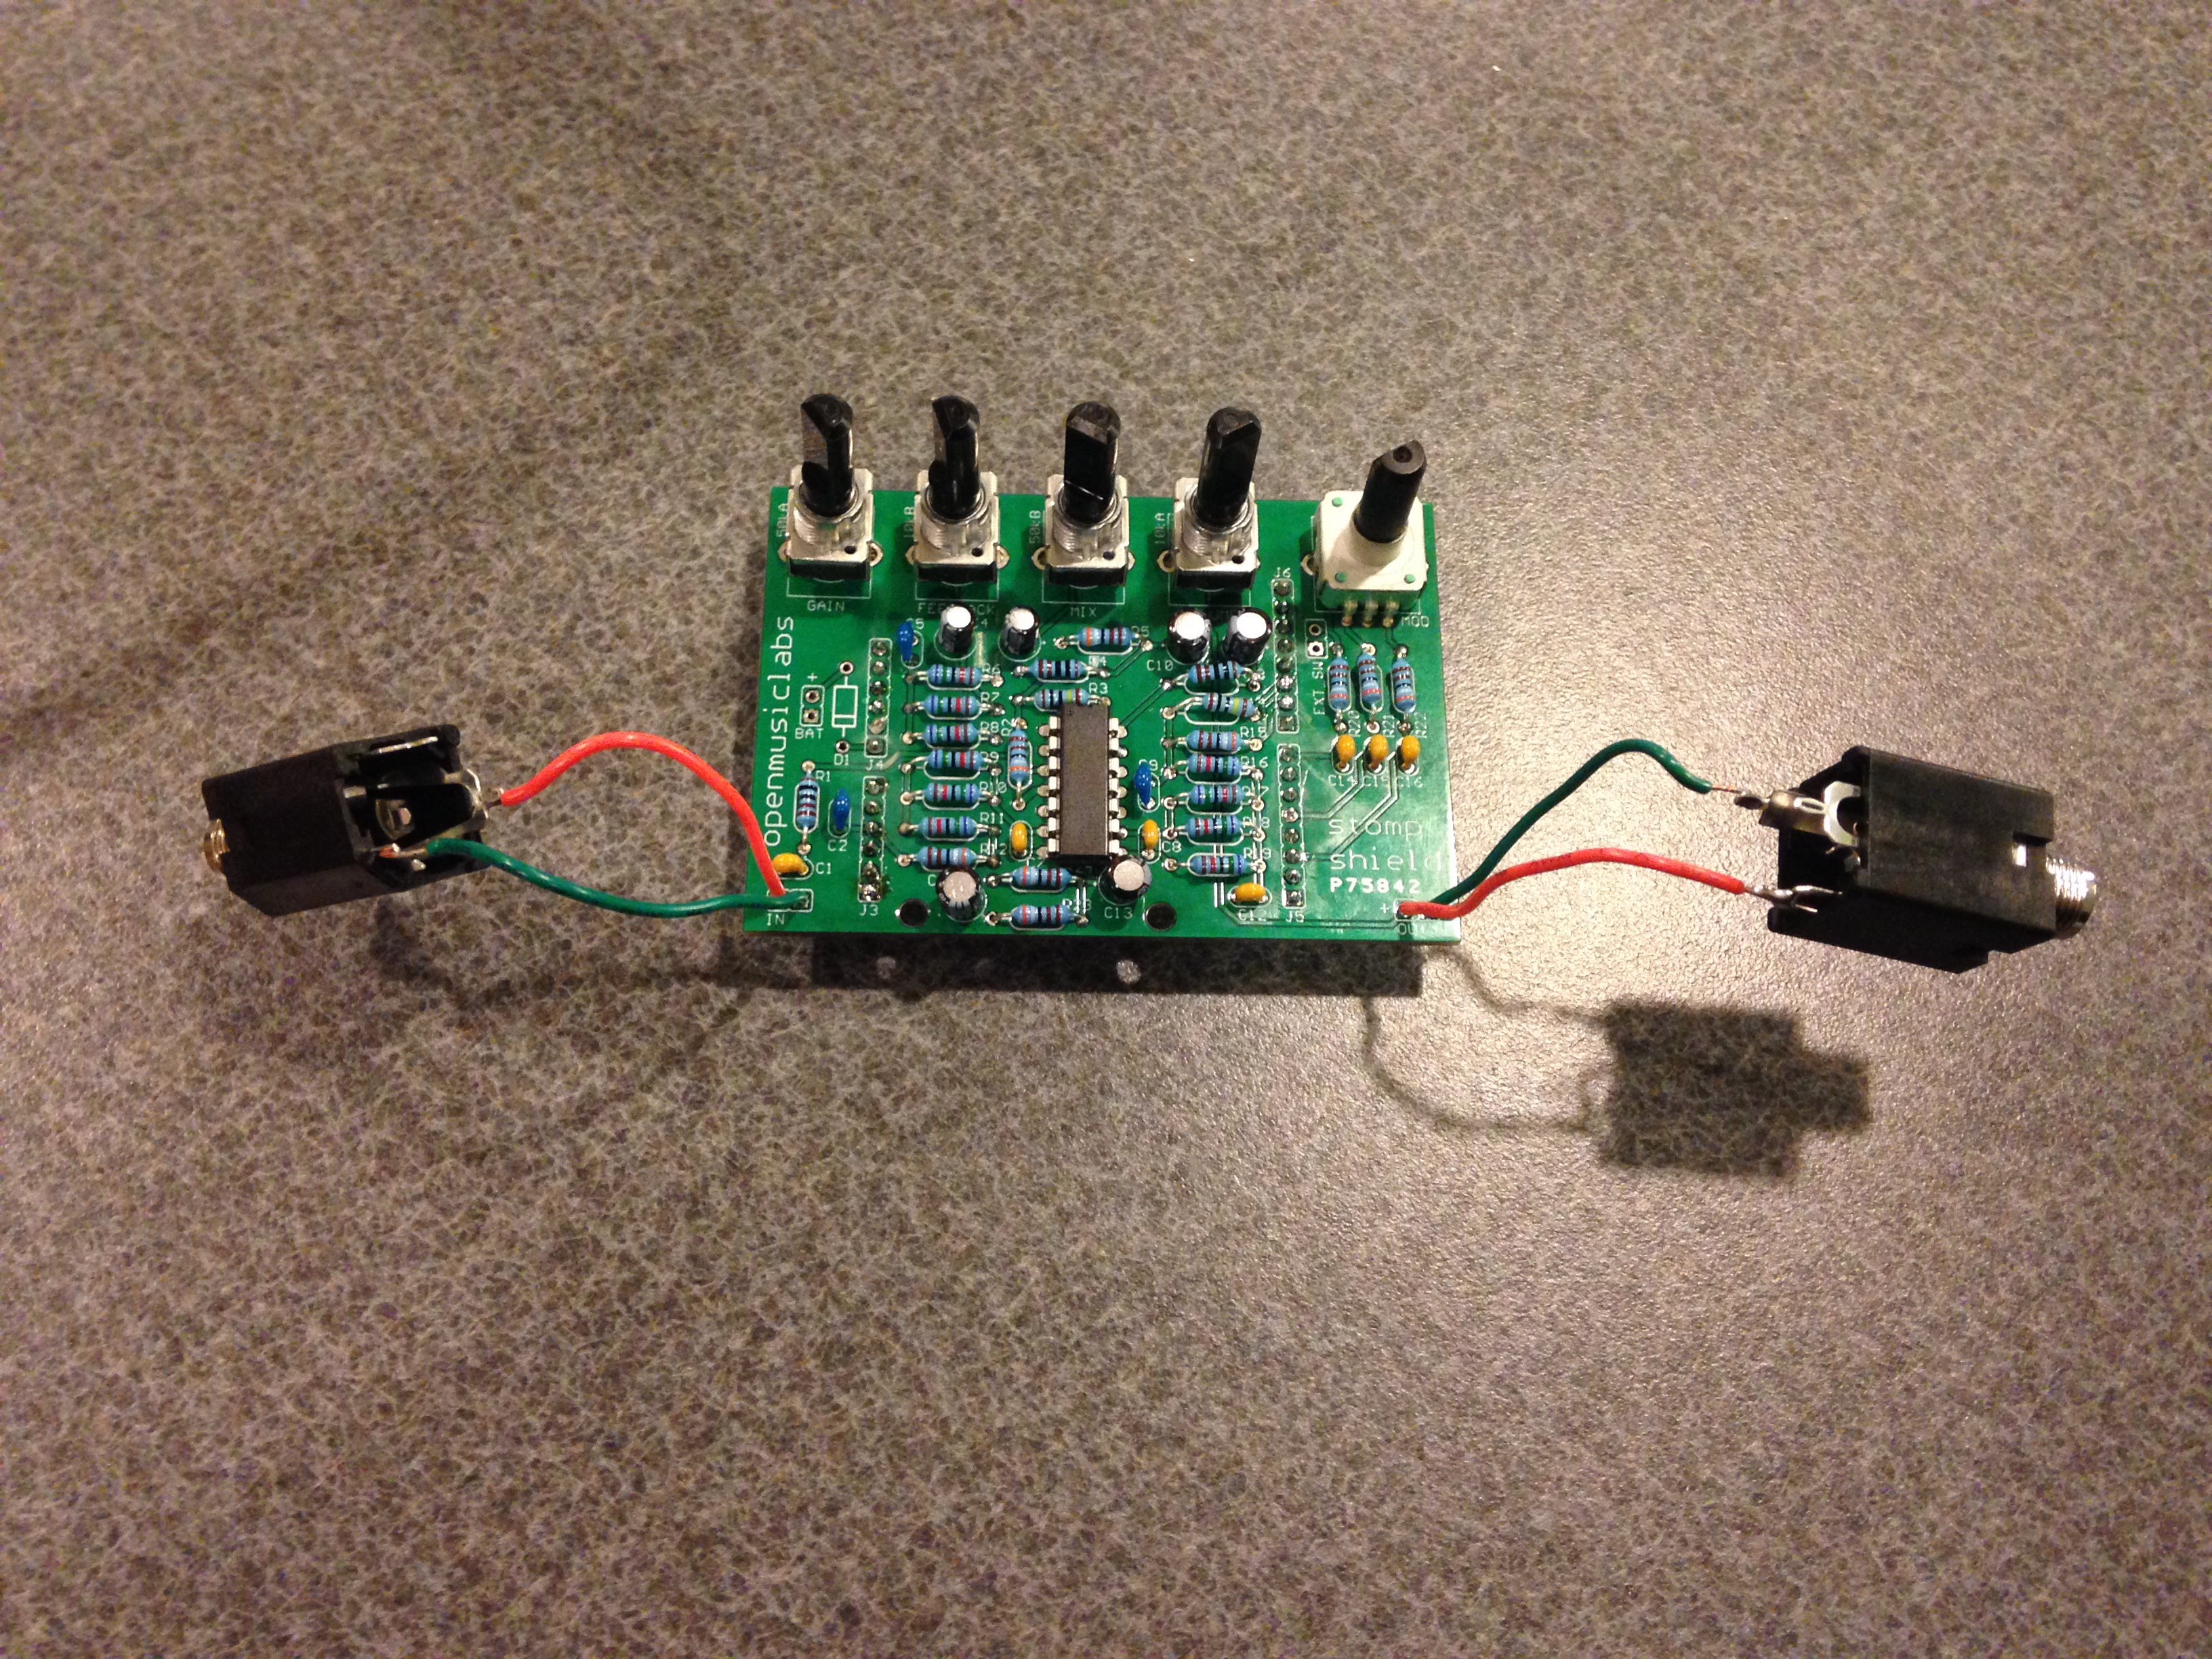
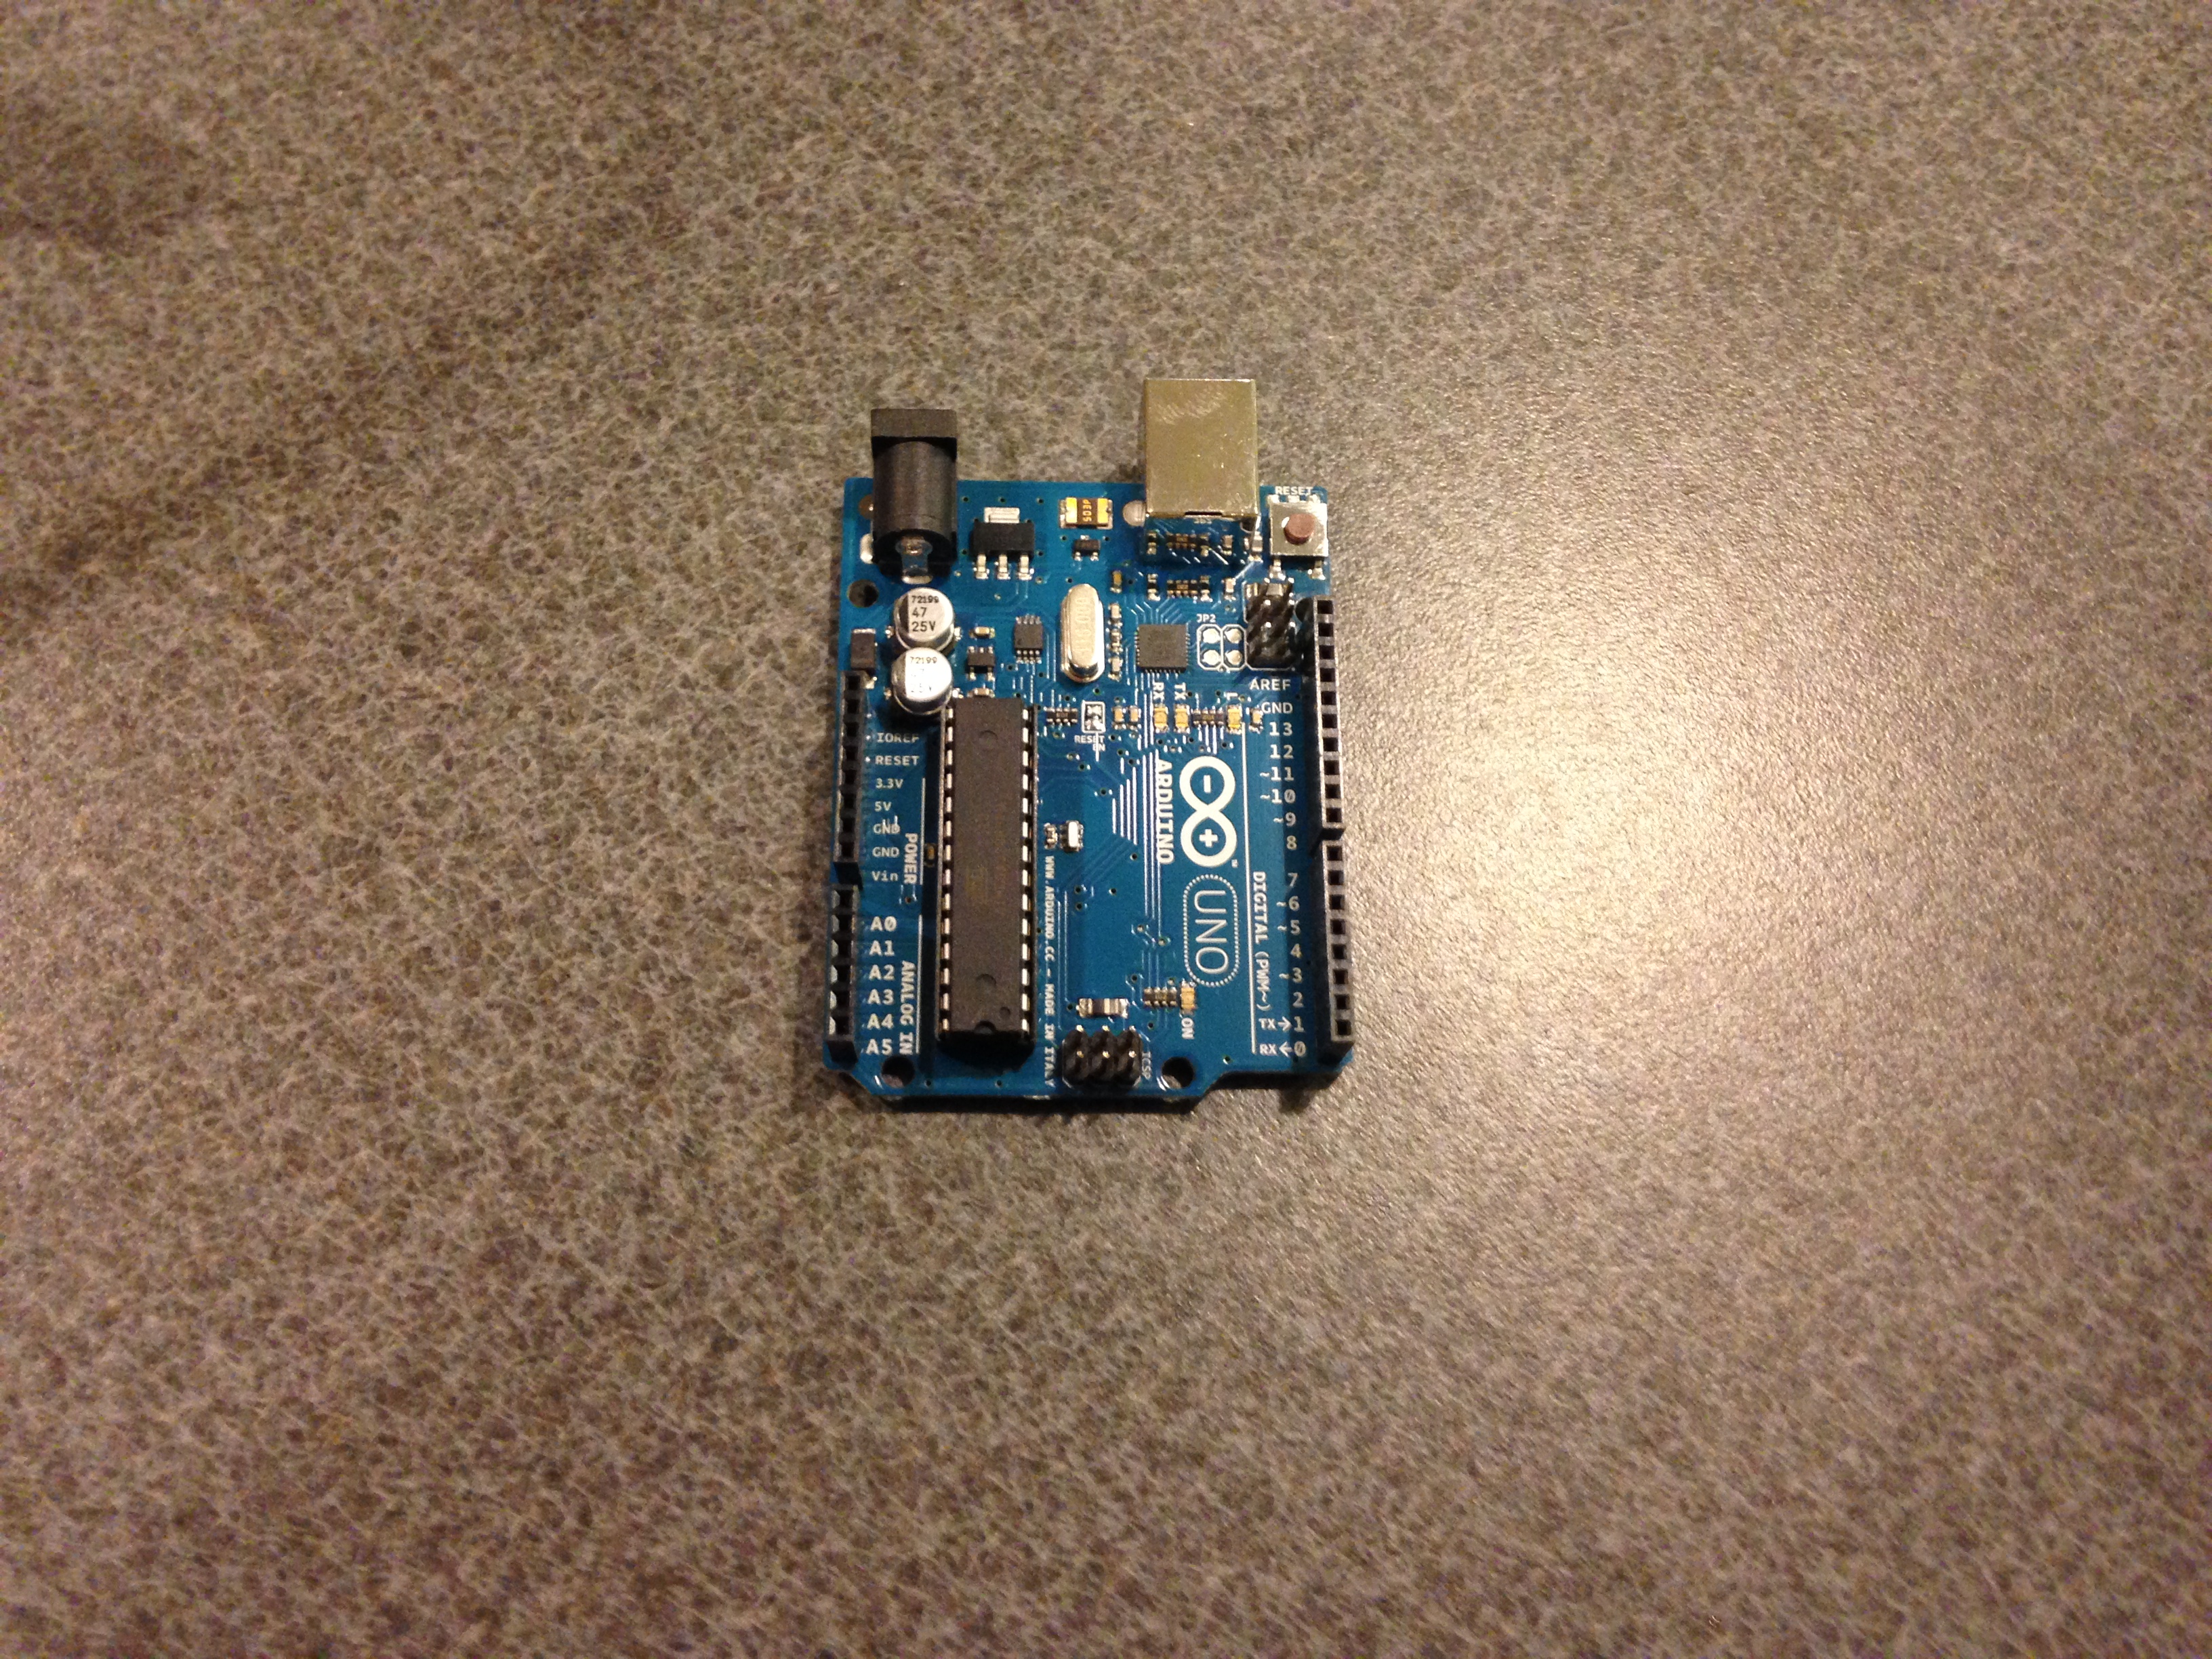
The kit includes a board, resistors, capacitors, an ic, and a few potentiometers that you solder together and plug into an arduino uno.
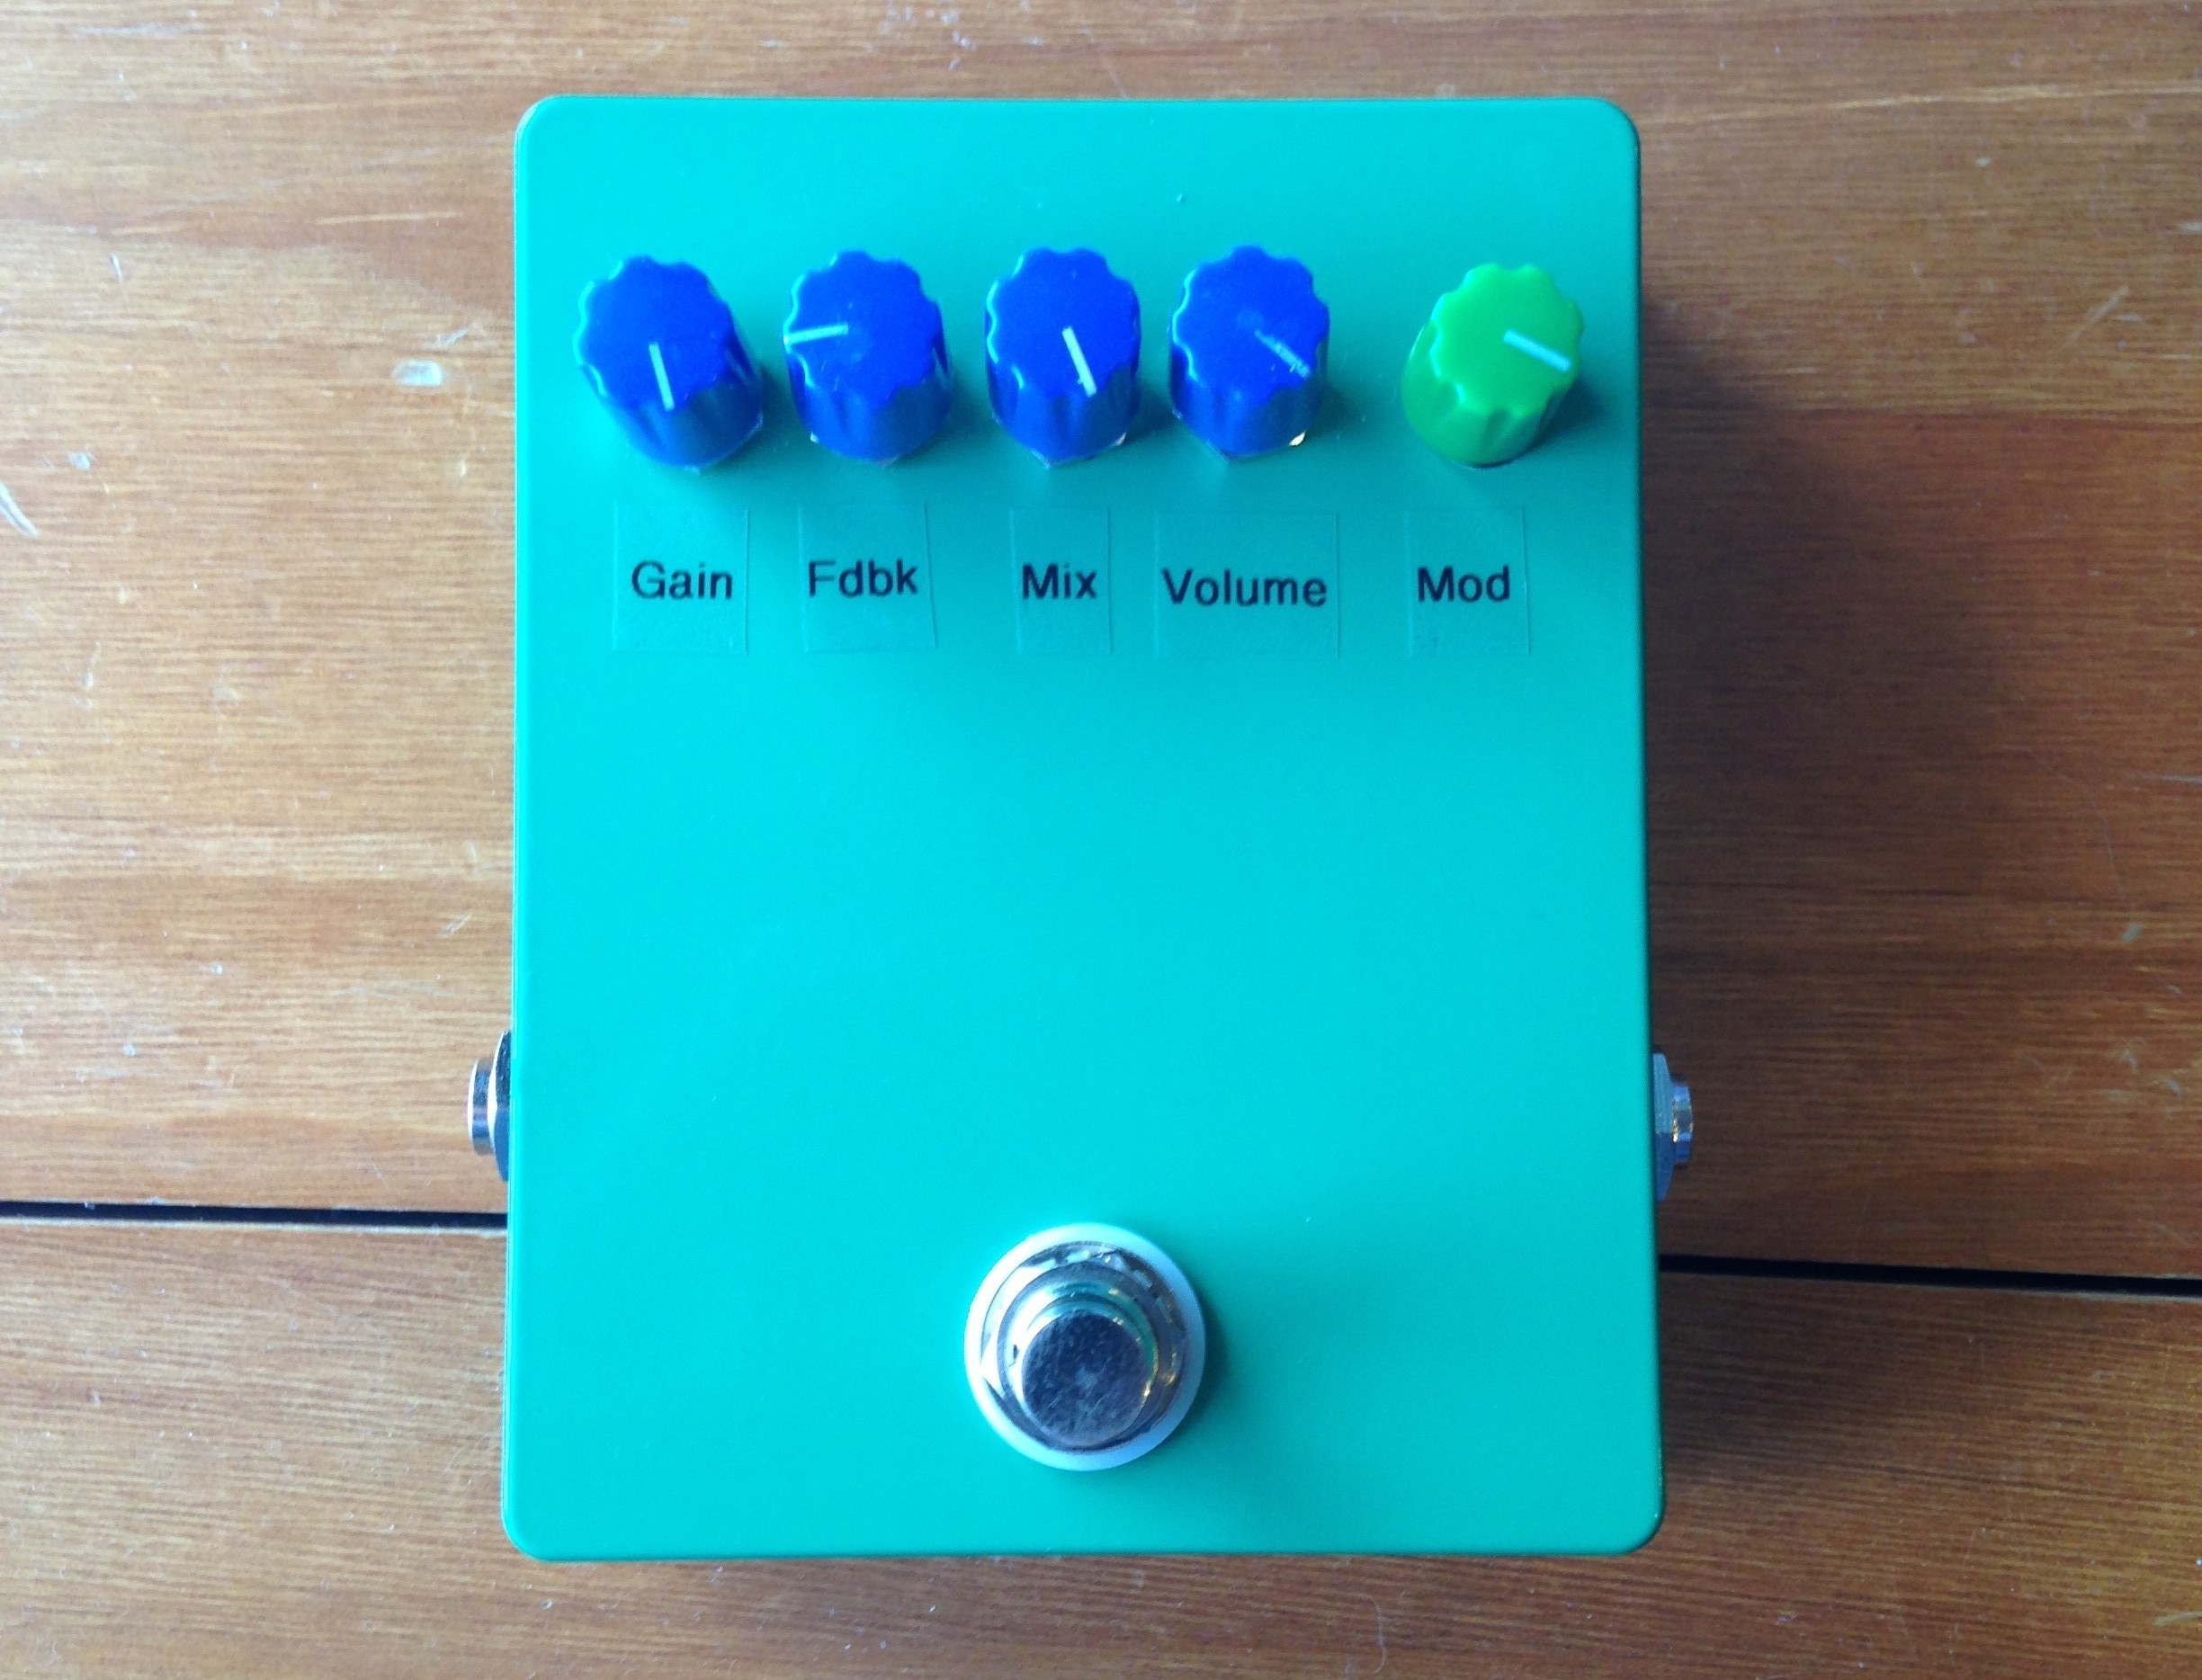
The build was pretty straight forward. I’m a pretty careless solder-er which caused a few hiccups but nothing serious. Once it was complete it was time to test it. It worked!!! And it sounds insane! Perfect! Next was to put it into a guitar pedal case so it could handle the haphazard life it would lead. I chose a hammond 1590 case (open music suggests this as a perfect size for the build.) After careful measuring, drilling, and filing, it was ready to be housed!
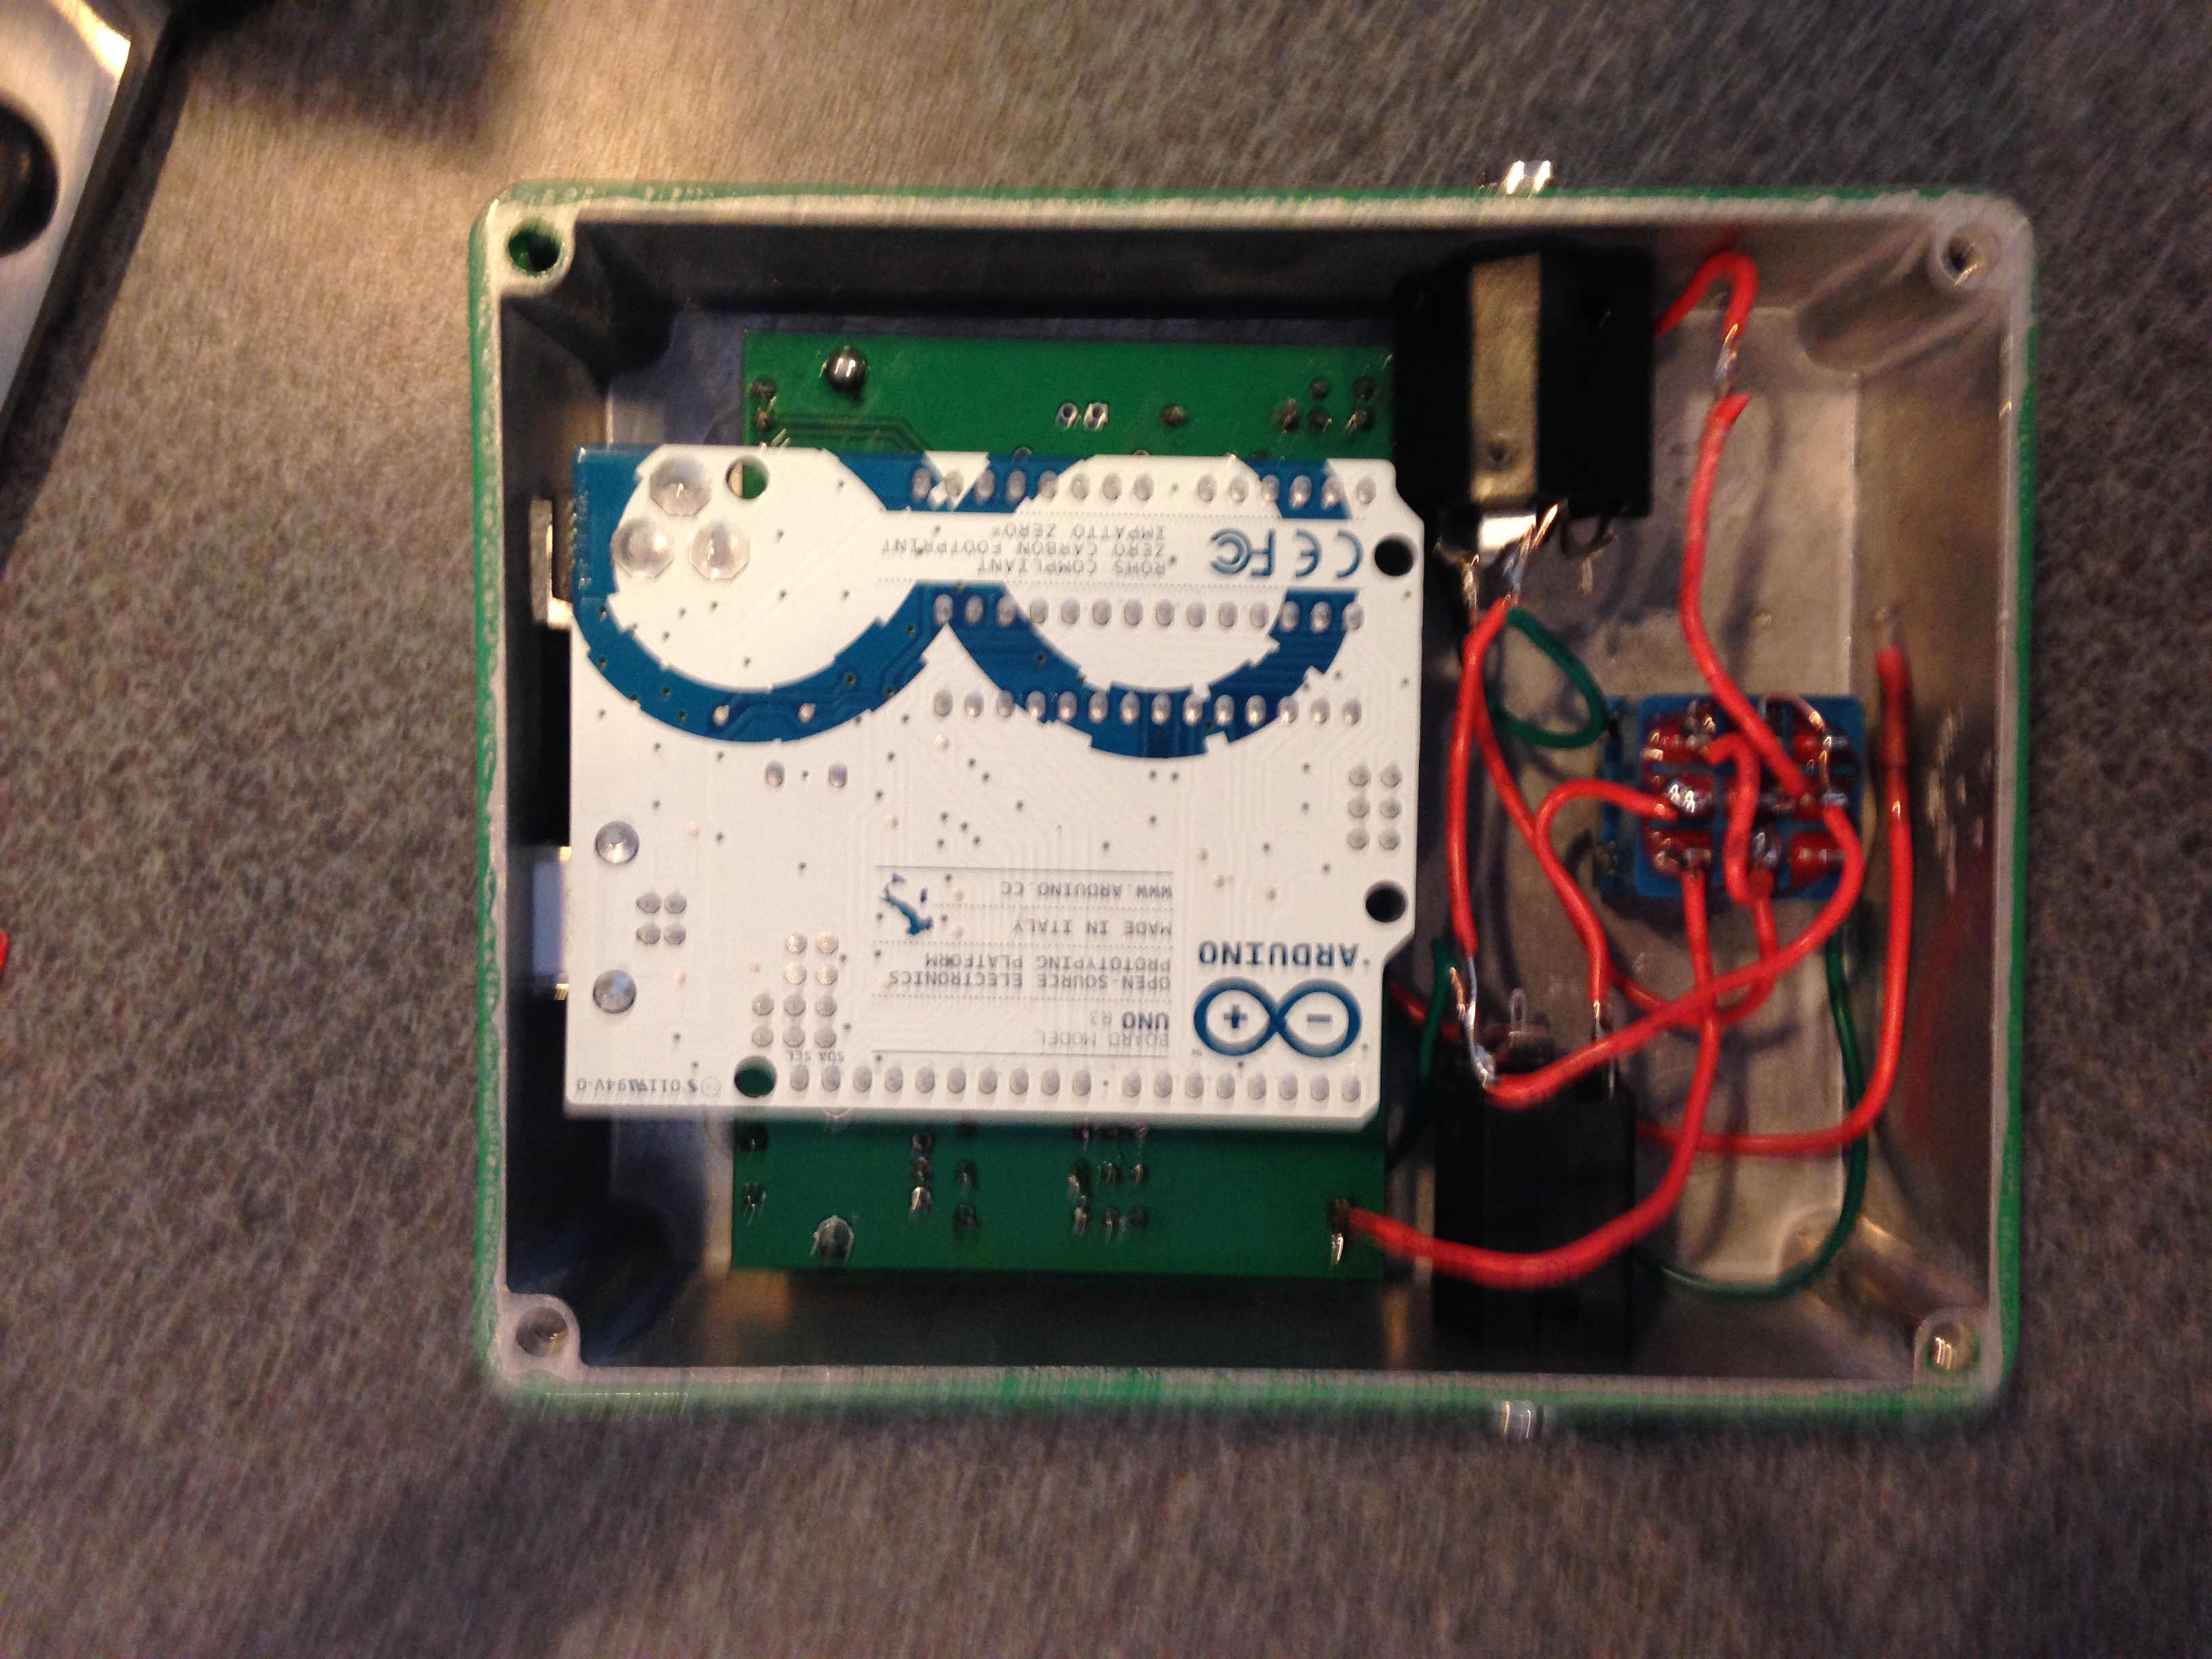
Next I wired in a 3dpt bypass switch, tested it, realized I had a wrong wire, fixed it, and tested it again. Eureka! Crazy sound again! I can’t overemphasize how important it is to test out these kind of projects at every step possible. If I had closed it up before testing and it didn’t work, I would have wasted time pulling it apart again. This comes from the experience of doing it the wrong way about a million times. It only took a million and one to finally realize this.
Next was the really fun part! Knobs and labels! I get my knobs and switches from this great site with the most ridiculous name. Bitcheslovemyswitches.com has stupid low prices, one shipping charge no matter what I’ve bought, and the guy is ninja fast in responding and taking care of the order! He also builds really creative and cool sounding pedals under the name OHNOHO. Check him out!

Now to plug it up and have some fun!
Wow. That is so awesome. I think you need to sell these premade. I’d buy one.
And thanks for the plug!
Ha! I might be interested in a trade for your rad pedals!
Great Job! This really rocks. I’d buy one too, maybe 2 or 3…..
hi ! i build the same stomp shield of open music labs , and it works good , but i have a problem , i put a foot switch like you did , but it dont work ! can you help me ? please answer me , because this is my final school project and its very important to me put it well. thanks
Hey Daniel,
Try following this picture for double pole switch: http://www.singlecoil.com/tb-strip/images/dia5.gif
or this picture for triple pole switch: http://3.bp.blogspot.com/_nsvZ1rXQwes/TGh_1h4ClhI/AAAAAAAAAls/ty4oSUUYCSo/s1600/3pdtSwitchWiring.gif
hopefully that works!
Thanks for your answer and time, it will really help me !
If i have any other doubt, i will post here, if you don’t mind of course ! 🙂
Cheers
Did you use a battery with the pedal?
Hey Mishi, I don’t use a battery for the pedal. It can be powered by the usb port on the arduino so I use a regular usb to wall adapter to power it. You can probably use a battery but I’m not sure the voltage needed. Whatever an arduino uses probably (9v dc I think.)
How customizable are the tones through tweaking the code?
Good question Jim!
In the small time I’ve put into fiddling with the code beyond these presets I’d say it’s fairly easy to change the tones however it’s often kind of unpredictable in how exactly it will sound. Experimentation is necessary if you are looking for very specific sounds. I like to fiddle with it until it creates something that surprises me. I’m often happier with the unexpected results!
Hi! where did you find presets?
The arduino library (what you called presets) can be found here: http://wiki.openmusiclabs.com/wiki/StompShield?action=AttachFile&do=view&target=StompShield.zip
The documentation to get you started is here: http://wiki.openmusiclabs.com/wiki/StompShield
Good luck!
Hey Chris
Great website! And great videos. So just a few a questions if you could answer.
So you’re running different patches through Max/Msp as FX? Then you’re ‘writing’ or ‘saving’ the patch through the Arduino Uno/software? And after the Arduino code is loaded onto the IC then it’s as simple as soldering the Uno into a guitar FX case?
Could you please connect the dots on what I am missing?
I would love to create my own FX including delay and theremin type mods with this technology.
Cheers!
Hey Adam, Thanks for the kind words!
While I do often use Max/MSP for some great guitar fx, Max is not being used in this project. The arduino pedal is only using the arduino and code created in the arduino programming language to alter the sounds. Once the arduino is programmed with the patch that you want all that’s needed then is a way to get the sound from the guitar into arduino and back out to your amp. That’s where the stomp shield comes in. I’d suggest the stomp shield if you are starting out because it walks you through the entire process of how it works and how you build everything on their website.
You might also want to look into a teensy (very similar to the arduino) because it has a useful audio editor that makes programming WAY easier. Check out their tutorial video on that page. It’s a great walk-through that I watched last week! It is similar to the way Max/MSP uses modules and connections. If you are starting out and aren’t super keen on audio circuits you can get a jump start on the project with a premade teensy audio shield that you solder to the teensy. I’m working on a delay myself for it! I’m curious to see what you do with it! Keep me posted!
Is it possible to use the Mod button to cycle through different effects on the Stomp Shield?
Unfortunately not. It’s a limitation (and strength) of the arduino itself. It keeps you focused on one task alone. If you are interested in more complex processing check out the Axoloti. You can create a patch with several different effects that can be engaged or disengaged.